Zapier Integration
Zapier is a third-party integration tool that allows you to connect Gridfox with a library of other apps and platforms.
Every connection you make between Gridfox and another app within Zapier is called a Zap.
Each Zap has one app as the ‘Trigger’, where you information comes from, and one or more ‘Actions’ in other apps, where you data gets sent.
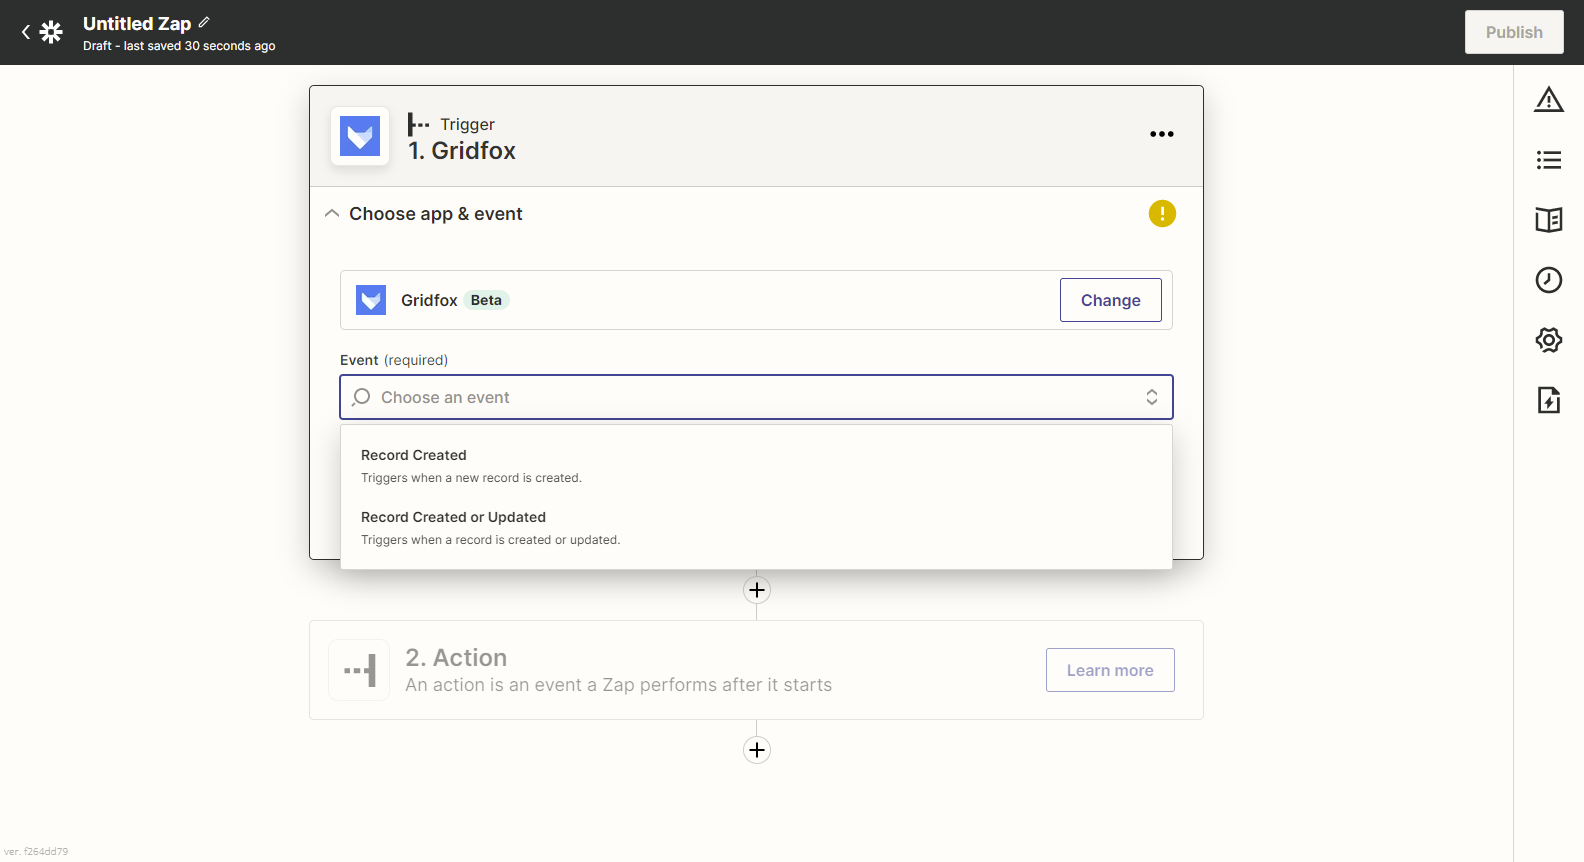
Gridfox offers the following Zapier Triggers:
-
Record Created
Zaps will trigger when a new Record is created within Gridfox for the chosen Table
-
Record Created or Updated
Zaps will trigger when a new Record is created and when a Record is updated within Gridfox for the chosen Table
Getting Started with Zapier
You will need to sign up for a Zapier account to start creating your own Zaps for Gridfox.
You can then start to create your own Zap within your Zapier Account. Check out the Zapier help documentation for how to get started with this.
Configuring a Gridfox Zap
To configure your Zap, start by searching for Gridfox in the App Trigger section.
You can then pick which event will trigger the Zap to start.

To connect Zapier to Gridfox, you will need to generate an API Key for the Project that you would like to use the Zap for.
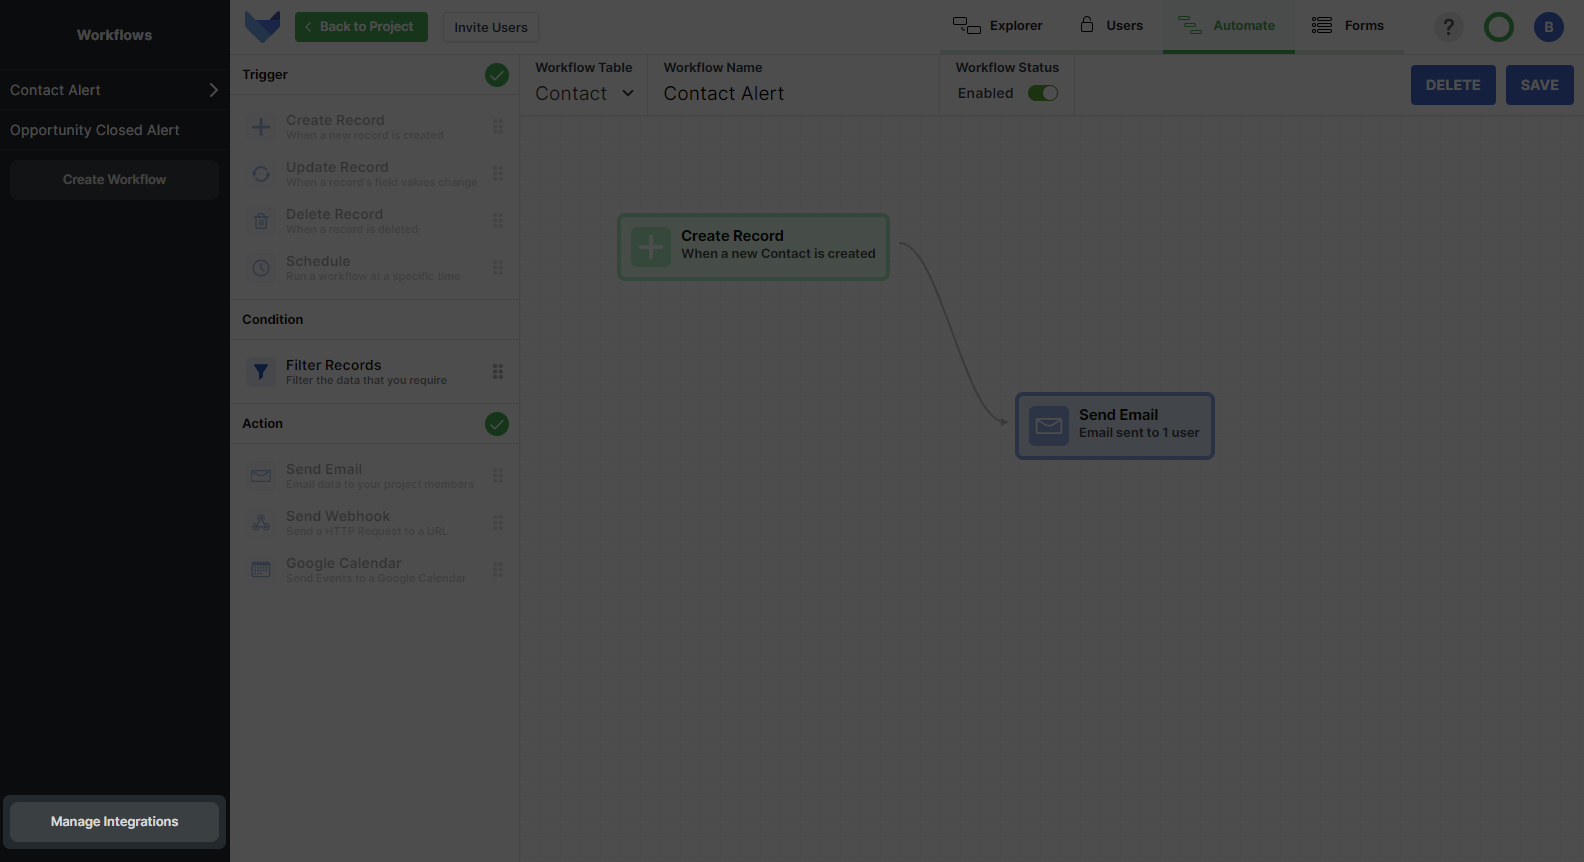
Open up Gridfox and navigate to the Project that you would like to use. Select the Automate tab in the top right hand corner.

Click Manage Integrations in the bottom left hand corner.

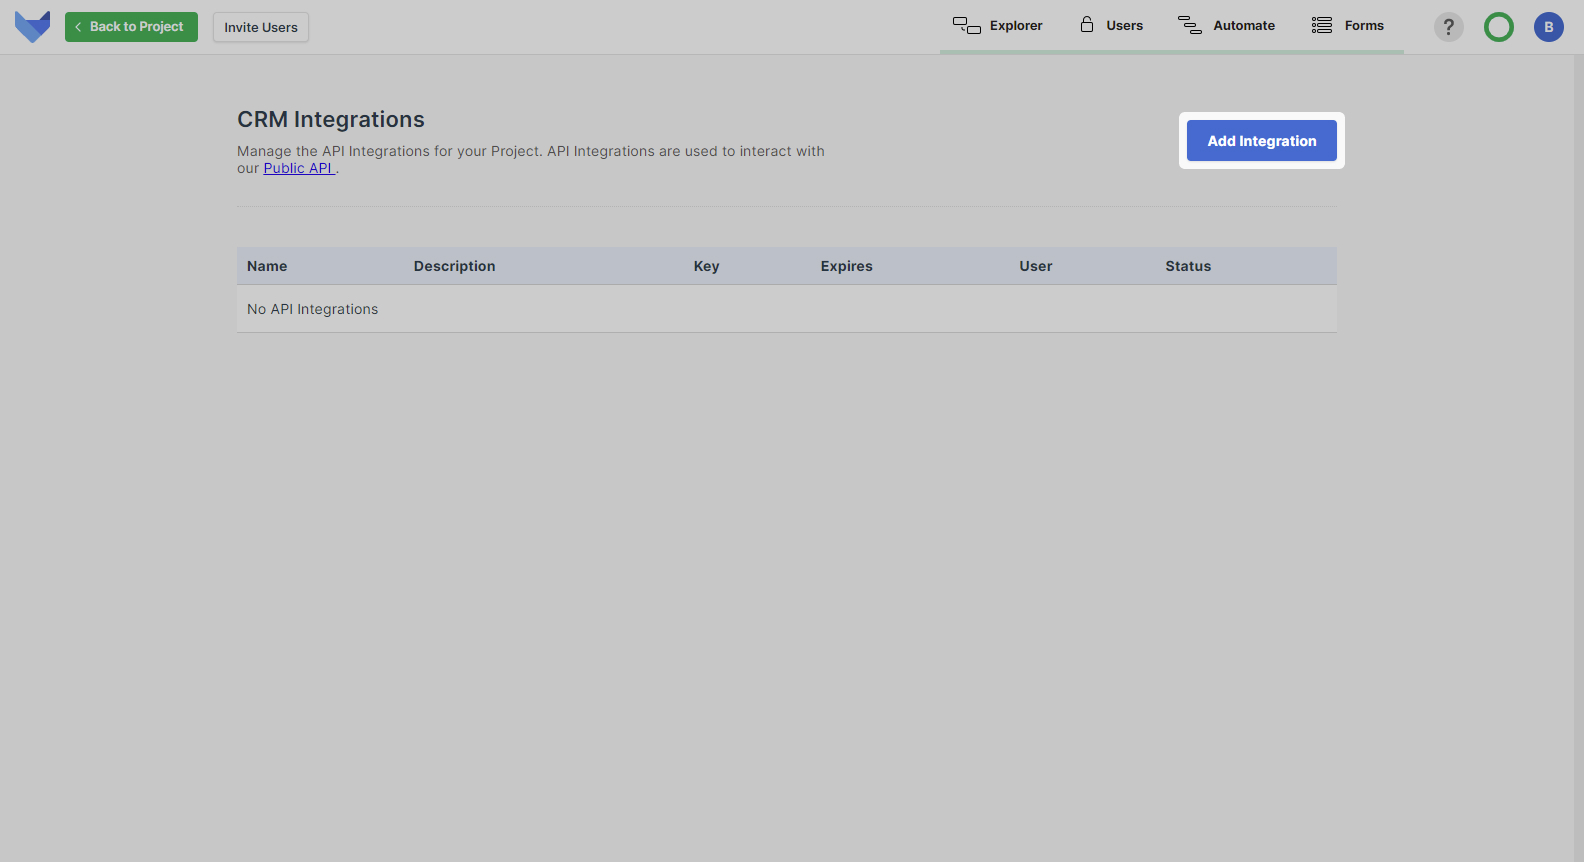
Click Add Integration.

Enter the following information:
-
Name
Give a name for the integration that will help you identify what the API Key is for, for example ‘Zapier Trigger’
-
Description
Optionally add a description that will be useful to understand the purpose of the API Key
-
Prefix
You must specify a prefix that will show at the front of your API Key
-
Expiry
Choose an expiry date
Once you have completed these Fields, click Add Integration.
You will then be shown the API Key. This will only be shown once, so make sure to copy it.
Head back to Zapier and select to link to a new Account. Add your copied API Key here.
You can now configure the rest of your Zap, adding Actions as needed.
