An Introduction to Workflows
Workflows allow you to define automated actions to be taken for your Gridfox records.
It may be useful, for example, to notify your Sales team when a new opportunity has been created. Or you may wish to send an email every week for everyone with their outstanding tasks.
A workflow is defined by four components:
- Which Table the workflow is acting on
- The action that triggers the workflow e.g. creation of a record, or a timed schedule
- Any conditions which limit when the workflow is triggered
- The action that is taken when the workflow has been triggered
Multiple workflows can be created for your Gridfox Tables.
Creating Workflows
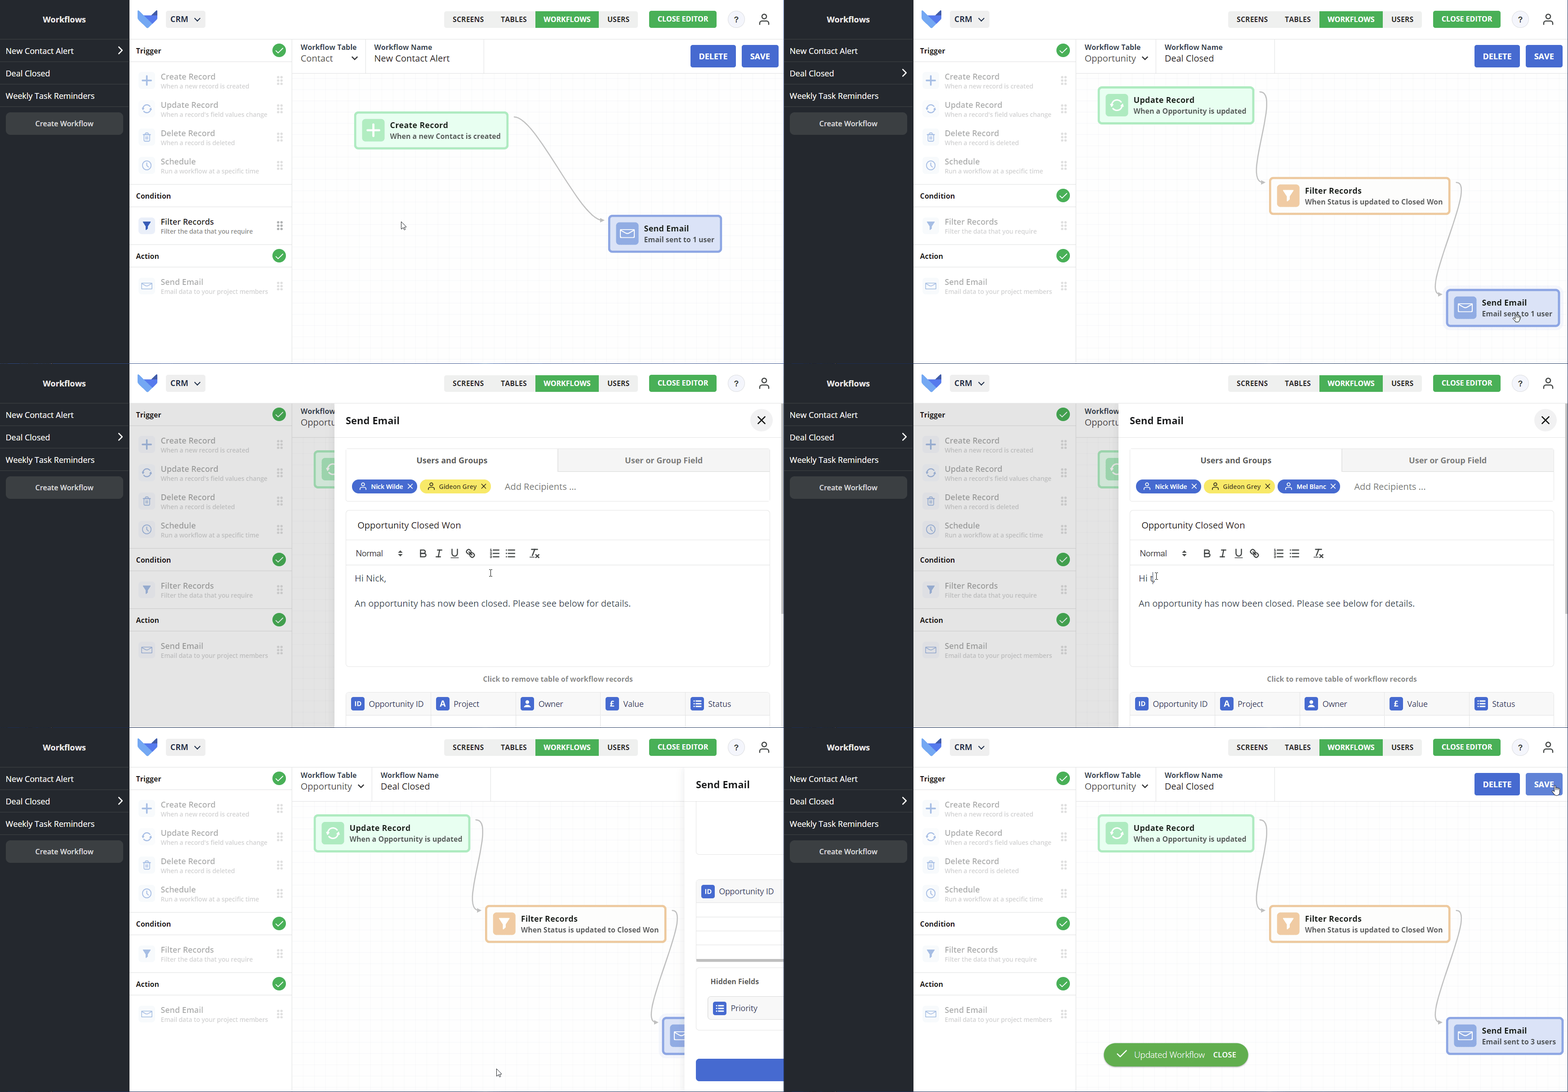
- Select the Automate tab in the top right hand corner
-
If there are no Workflows in the Project you will be taken to a blank canvas for a new Workflow
Otherwise, click Create Workflow
- Choose which Table that the Workflow is for
- Enter a name for the Workflow
- Add a Workflow Trigger by dragging it onto the canvas
- Optionally add a Workflow Condition
-
Add and configure a Workflow Action of type Send Email, Send Webhook or Google Calendar Event
Note that only one Action can be added to a Workflow
- Click Save in the top right hand corner of the canvas
NOTE
By default, all workflows are enabled and will become immediately active after saving. To change this, toggle the Workflow Status switch before you save.
Workflow Trigger Types
Once you have selected which Table that the Workflow is taking action on, you must choose the event that triggers the workflow to start.
There are four trigger types to choose from.
| Trigger Type | Details | Example |
|---|---|---|
| Create Record | Workflow steps will trigger when a new Record for the selected Table is saved | Send an email to the Sales team when a new opportunity is created |
| Update Record | Workflow steps will trigger when a change is made to an existing Record for the selected Table | Send an email to the account owner when an account status is changed |
| Delete Record | Workflow steps will trigger when an existing record for the specified table is deleted | Send an email to the HR team when an employee record is deleted |
| Schedule | Workflow steps will trigger on the defined schedule | Send an email every week to to the operations team with their upcoming tasks to do |
Scheduled Trigger Type
For Workflows with a trigger type of Schedule, there are some additional options to configure which determine how frequently the Workflow should run.
To access the options, add a Schedule trigger type to the canvas and click on the block. This will open the menu in the sidebar to configure the recurrence. The options are:
-
Daily
Runs every day on a chosen hour
-
Weekly
Runs every week on a chosen day and at a chosen hour
-
Monthly
Runs every month on a chosen date and at a chosen hour
Note if the 29th, 30th or 31st is selected then for shorter months the Workflow will run on the last day of the month.
Updating Workflows
You can make changes to your Workflows at any time.
To update a Workflow, select the Automate tab in the top right hand corner of a Project.

Select the Workflow that you would like to make changes to from the list of Project Workflows in the left hand navigation bar.
Make any changes that are required, such as renaming the Workflow or changing the Workflow Steps.
You can also choose whether the Workflow should be enabled or disabled using the Workflow Status toggle.
Once you are happy with your changes, click Save in the top right corner of the canvas.

The changes to your Workflow will apply immediately after saving.
Deleting Workflows
If you have decided that one of your Workflows is no longer required, then it can be deleted. If you would like the Workflow not to run temporarily, you could disable it instead of deleting it.
NOTE
Deleting a workflow cannot be undone.
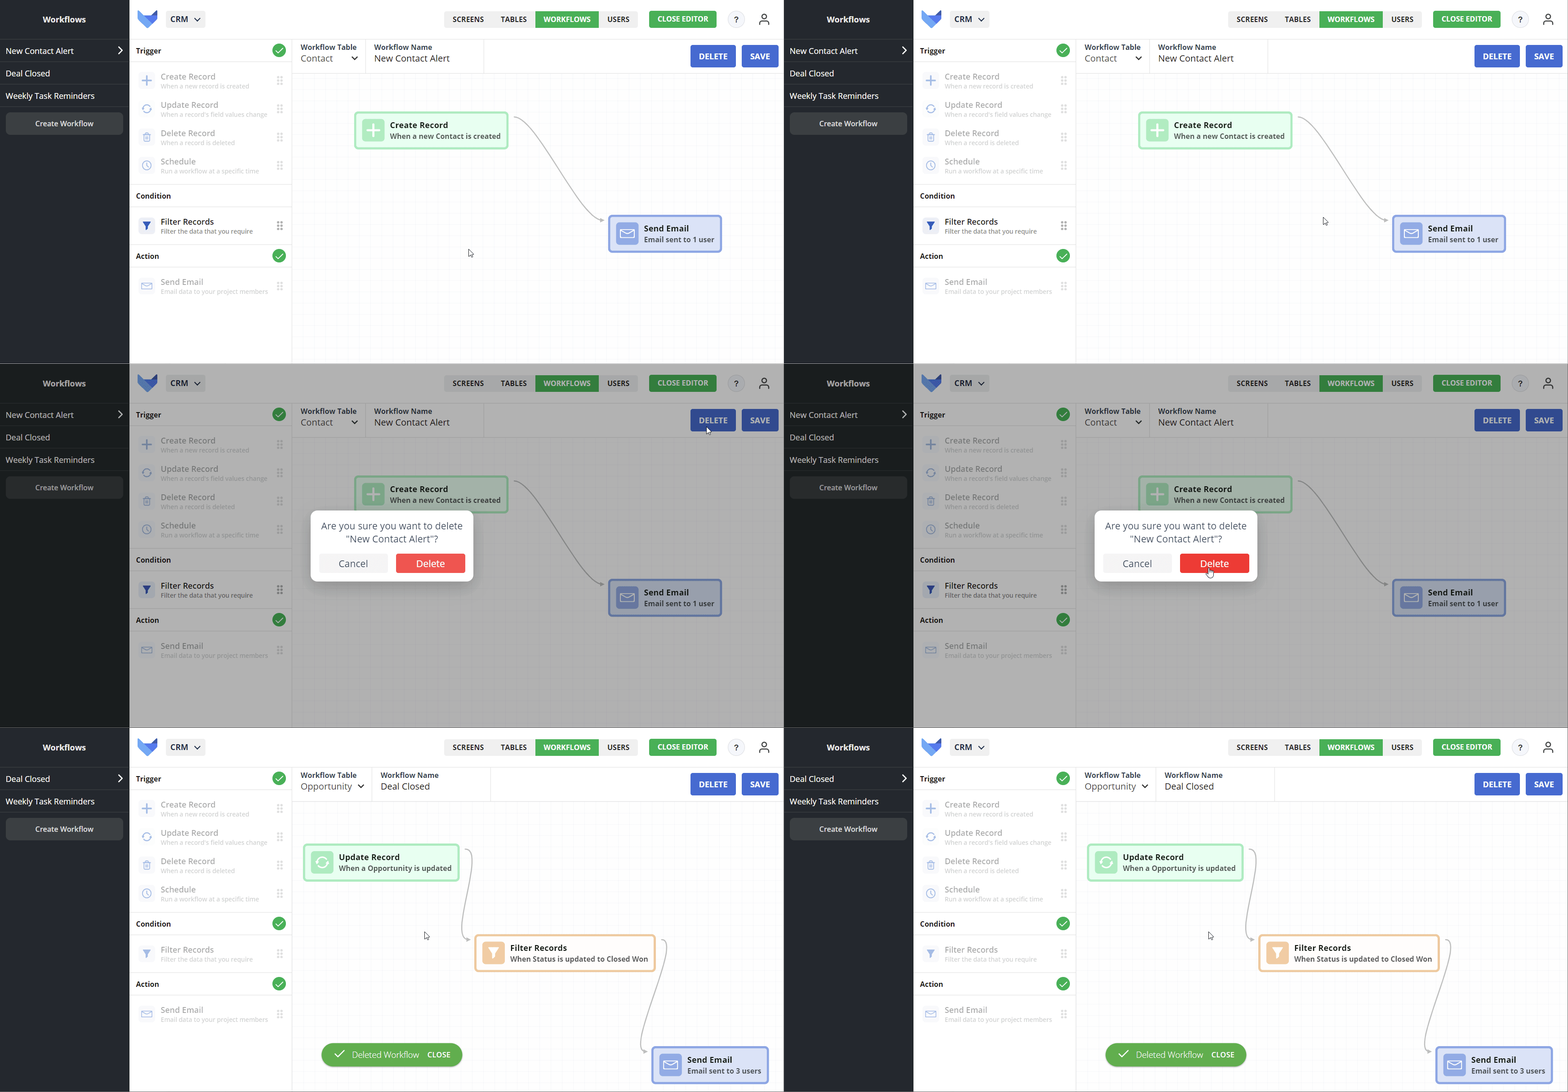
- Select the Automate tab in the top right hand corner of your Project
- Select the Workflow that you want to delete from the list of Workflows in the left hand menu
- Click Delete
- Confirm the action by clicking Delete again
Your Workflow will now be deleted. Changes take effect immediately.

