Getting started with Permissions
Creating & Updating Groups
Groups are used to define the level of access that Users should have to your Project. Once you have created a Group, you can configure the Group permissions and then invite Users to the Project, placing them in the appropriate Group.
Creating a Group
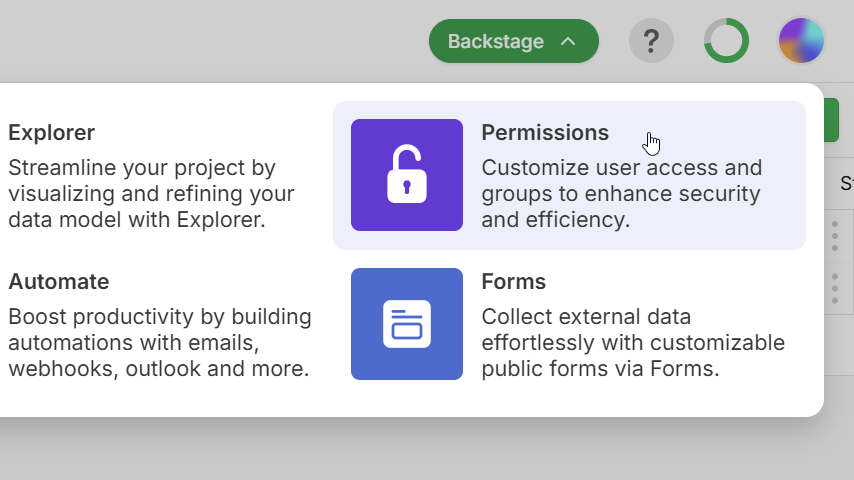
- Click Permissions from the Backstage menu.
- Click Add Group.
- Give the Group a name.
- Choose whether you would like the Group to have only Read-Only access and change the toggle as needed. In a Read-Only Group, Users will only be able to see Records and will not be able to make changes to any Record information.
- Click the next arrow.
Your Group has now been created. The permissions for the Group can now be configured.
TIP
Until you configure permissions for the newly added Group, if any Users are added to the Group then they will not have permissions to see any of the Tables in the Project.

Colour Coding Groups
Groups can be assigned a colour, which will help Users quickly identify Records which are assigned to a User within a certain Group.
For example, if a Table has a User Field added, when colours are assigned to the Groups then this colour coding will show when anyone is viewing those Records.
- Click the Users tab in the top right hand corner
- Click the square to the left of a Group’s name
- Choose a colour for the group from one of the pre-set colours, or add a custom colour
Once a colour has been set for a Group, it will be applied to Records across the Project.
Renaming a Group
To change the name of an existing Group, click the arrow to the right of the Group that you would like to rename and select Rename Group.
Make the changes to the name and click out of the name editor.
The Group name will now be updated with immediate effect.
TIP
You cannot update the name of the three default Groups: Project Admins, View, Edit.
Changing a Group’s Assigned Colour
All Groups in a Project can be assigned a colour to help quickly identify who Records are assigned to.
Click the colour block to the left of the Group that you would like to amend the colour for.
You can select one of the pre set colours immediately, or choose a custom colour by clicking on the grey boxes underneath the 12 pre set colours.
The new colour will be applied immediately across all Records in the Project.
Amending Read-Only Settings
Provided you have sufficient Seats available, you can disable a Group’s Read-Only setting or enable it.
For a Group that is not currently marked as a Read-Only Group, open the menu for the Group and click Enable Read-Only.
If you have sufficient Read-Only Seats left, you can confirm the action by clicking Enable.
For an existing Read-Only Group, disable the Read-Only setting by opening the menu for the Group and clicking Disable Read-Only.
Confirm the action by clicking Disable.
Deleting Groups
If one of the Groups in your Project is no longer required, then it can be removed.
Removing a Group will also remove all Users in this Group from the Project. Make sure to change the Group of any Users that should still be in the Project.
- Select the User tab in the top right hand corner
- Click the menu arrow next to the name of the Group that you would like to delete
- Click Delete Group
- Click Delete to confirm the action.
The Group will be deleted and any Users in the Group will be removed from the Project.
TIP
You cannot remove the default groups: Project Admins, View, Edit.
